A fence for your property is essential. Not only does it add privacy, but can also hugely improve the security and aesthetics of your home. Whether you’re looking to keep pets and children safe, create a garden boundary, or simply define your property line, building a fence is a very worthwhile project. In this beginner-friendly guide, we’ll walk you through the fundamental steps in general fence construction – providing you the basics to then create your own fence line masterpiece.
Step 1: Planning the Fence
Before you start hammering any nails or dig any post holes, careful planning should be priority one. Here’s what you need to consider:
Purpose
Why do you want a fence? Is it for privacy, security, or decoration? Your choice will influence the type and design you choose.
Local Regulations
Be sure to check your local zoning laws and homeowner’s association rules regarding fence height, style, and placement.
Materials
Decide which materials you want to use, such as wood, vinyl, chain link, wrought iron, etc. Consider your budget, style, and maintenance preferences to help determine which material is best for you.
Layout
Plot the fence’s potential location, making sure it stays within your property line. It never hurts to check with your neighbors to make sure they’re on the same page as well. Property line disputes are never fun.
Utility Lines
Be sure to call your local utility companies to mark the location of their underground utilities. This step is vital to avoid major accidents like hitting a water or electrical line.
Step 2: Gather Your Fence Materials and Tools
Once you have a plan in place, it’s time to get the necessities. The list below includes all the essential items for basic fence building, but depending on the complexity of your fence special tools or material may be required. Check with a reputable local contractor if you’re unsure about what you’ll need.
Materials:
- Fence posts
- Fence panels or pickets
- Concrete or gravel for post holes
- Nails or screws
- Brackets (for wood fences)
- Post caps (if desired)
- Gate hardware (if applicable)
Tools:
- Tape measure
- Level
- Post hole digger
- Shovel
- Hammer or drill
- Saw (if cutting materials)
- String line
Step 3: Install the Fence Posts
Properly installed posts create the sturdy foundation of a good fence. The first step is to:
Dig Post Holes
Use a post hole digger or shovel to create holes at regular intervals along your fence line. The depth of the holes should be about one-third the height of the whole post. Be sure to plot their placement carefully, using the string line to guarantee straightness. This step is crucial, so take your time making sure they are exactly where you want them.
Set Posts
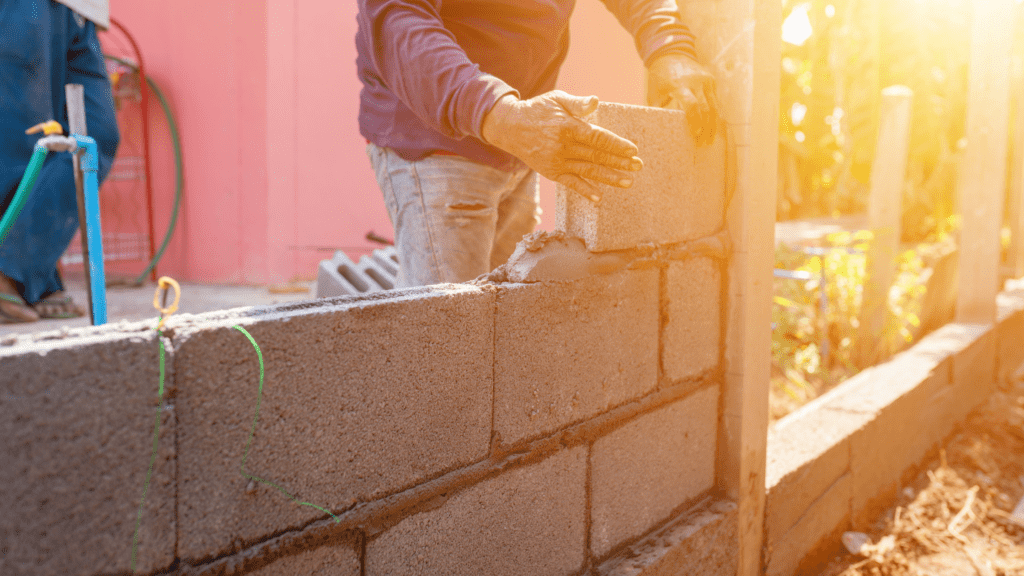
Place your fence posts into the holes, ensuring they are level and plumb (perfectly vertical). Add concrete around the posts. This can be done with either wet or dry concrete, but if using dry and mixing it in the hole – make sure to mix thoroughly.
Allow to Set
The set time of your concrete will vary depending upon what type you use. Check the bag or manufacturer website to find out. Wait until the concrete has had ample time to set before proceeding.
Step 4: Attach the Fence Rails
Rails are the horizontal beams that connect each post, and are what the fence panels are nailed to. On most wood fences they are simple 2”x4” pieces, but metal fences will typically vary. Except chain link fences, which are standard and can be purchased at most hardware stores.
Install Brackets
If building a wood fence or a metal fence that requires them, nail or screw the brackets into the sides of the post. The brackets hold the rail in place while you nail it into the posts, but before you do – make sure the rails are nice and level.
Attach Rails
Set the rails in place, ensuring they’re level before you go to secure them. Now that we have the frame complete, it’s time to add the face.
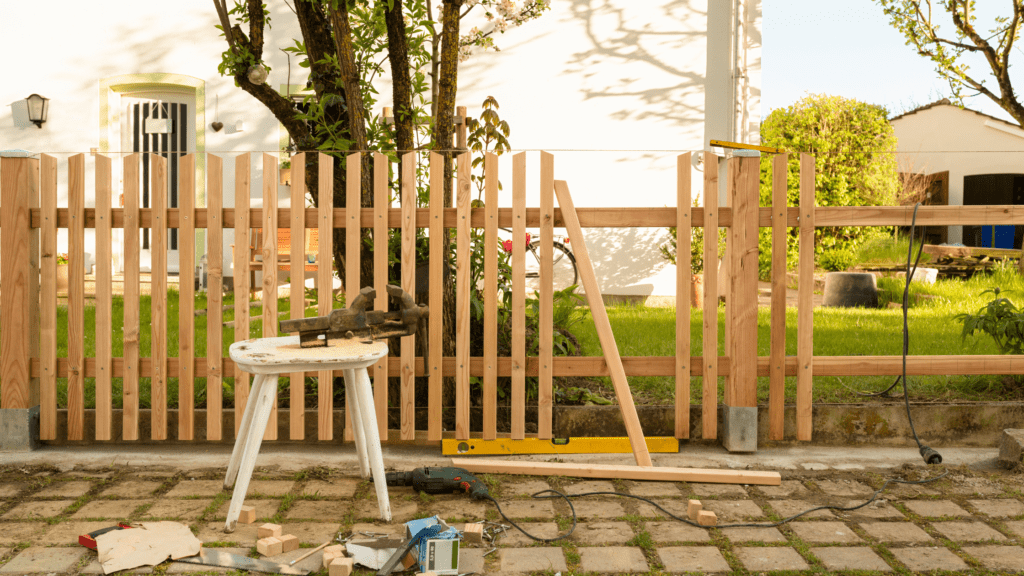
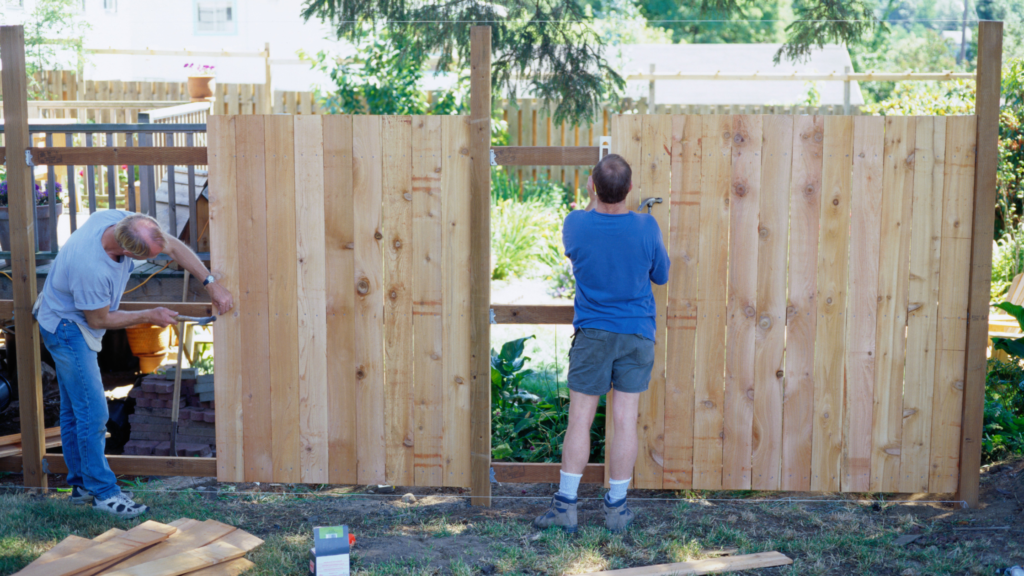
Step 5: Attach the Fence Panels
With your posts securely in place and your rails set, it’s time to attach the panels:
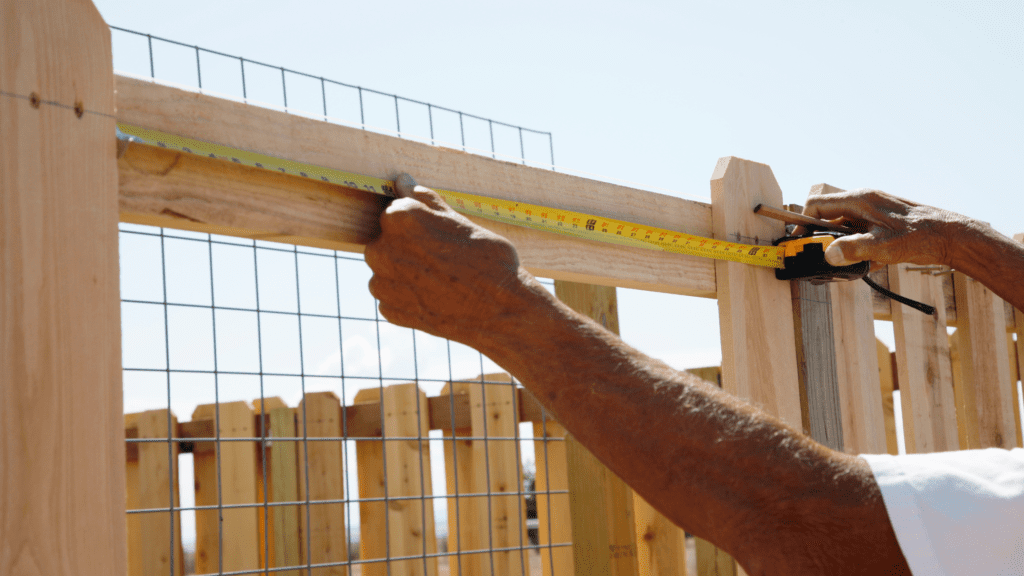
Measure and Cut
Measure the distance between your posts and cut your panels to the appropriate size if needed. Panels can generally be purchased at many lumber yards as well, saving significant time and labor.
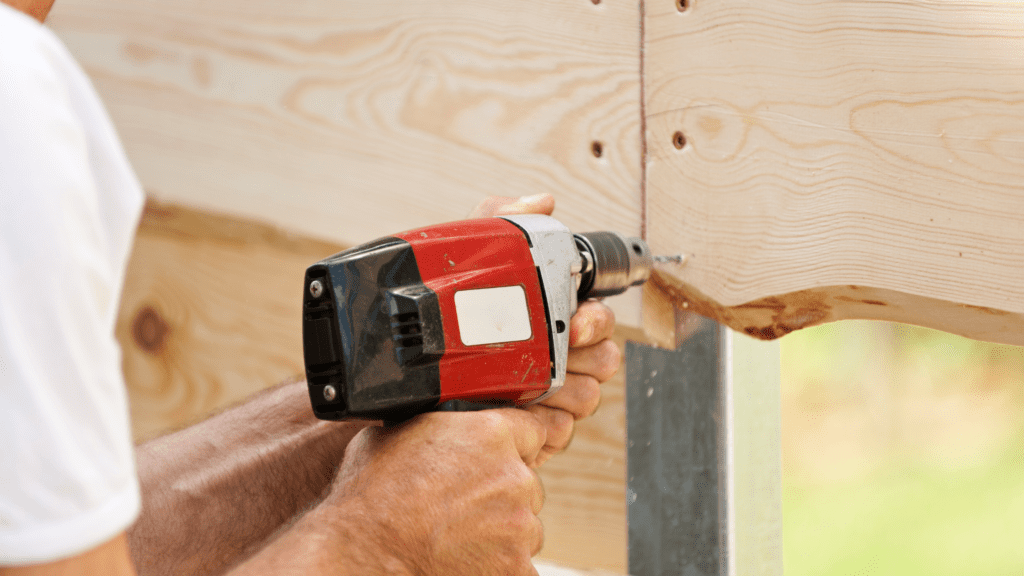
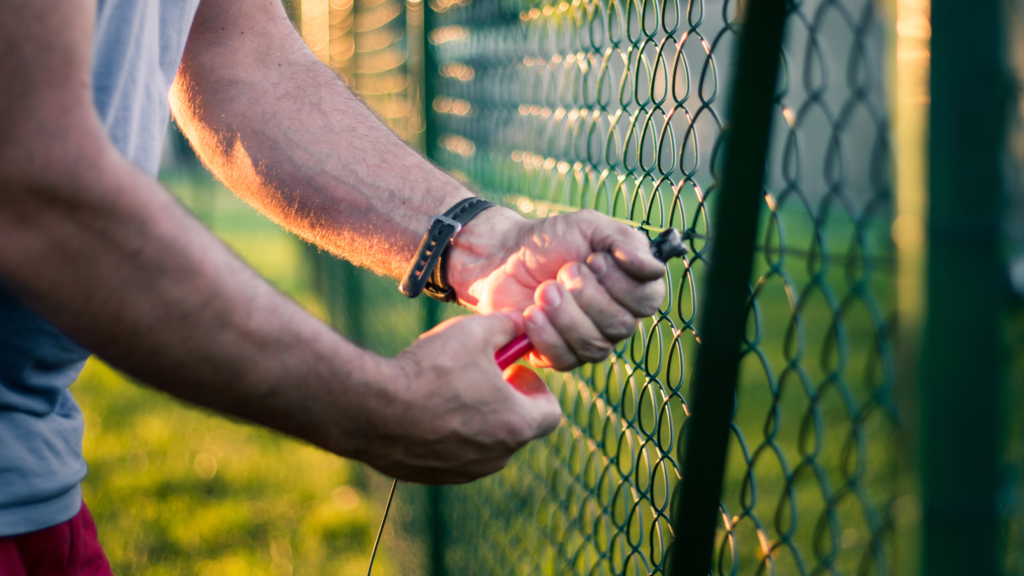
Attach Panels
Use nails or screws to attach the panels to the posts. Ensure they are level and evenly spaced. If building a metal fence, this process will vary. With chain link fences, roll the chainlink out and attach it as you go.
Add Finishing Touches
Install post caps if desired to protect the tops of the posts and give your fence a nice polished look.
Step 6: Build a Fence Gate (If Needed)
If you need a gate for access, here’s how to do it:
Measure and Cut
Measure the width of the gate opening and cut your gate frame accordingly. Secure the frame together before putting it on the fence.
Attach Panels
Attach the panels to the frame. Make sure they’re evenly spaced just like you did with the panels on the fence.
Install Gate Hardware
Add hinges and a latch to your gate, making sure it swings open and closed smoothly. Placement of these is crucial. Make sure you’ve measured exactly where you want it to hang, marking the nail/screw holes before you drill. Once it’s all together, secure it onto the fence, making sure it swings properly.
Step 7: Finish and Maintain Your Fence
Once your fence is up, there is one final step!
Stain or Paint
Depending on your material choice, consider staining or painting your fence to give it some color and longevity. If it’s metal, perhaps an epoxy coating. These measures typically need to be done every year or two as it weathers and ages.
Ready to Build a Fence?
Building a fence can be a satisfying DIY project that enhances your property’s beauty and functionality. With careful planning, the right materials, and a bit of elbow grease, you can create a fence that not only serves its purpose but also adds value to your home. Remember to take your time, follow the steps carefully, checking levels as you go, and enjoy the process of transforming your property with a new look!