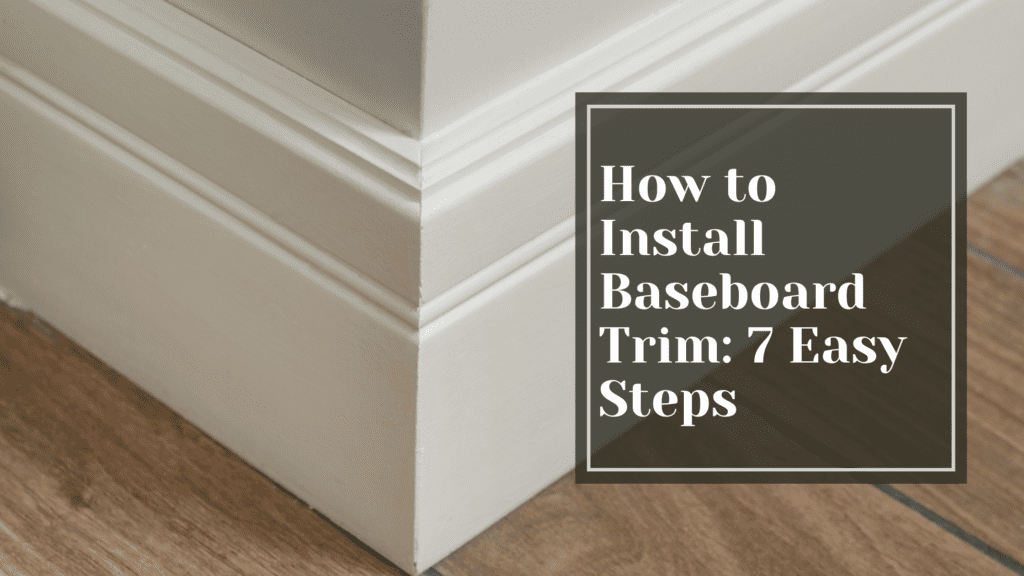
Trim might not be the most glamorous part of your home, but it’s vital for a polished look and wall protection. Whether your trim is showing its age or you’re looking to upgrade, this DIY project is just the ticket. In this guide, we’ll take you through each step, helping you transform your home one piece of trim at a time.
Step 1: Preparation & Gear
Before diving in, make sure you’ve gathered all your materials and safety gear. Of course, safety comes first with those glasses, dust masks and gloves. Here’s a list of all the essential items you’ll need:
- New trim
- Measuring tape
- Miter saw
- Hammer
- Nails
- Pry bar
- Utility knife
- Sandpaper
- Caulk
- Caulk gun
- Wood putty
- Putty knife
- Paint and paintbrush
- Safety glasses
- Dust mask
- Gloves
Step 2: Measure and Select Your Trim
Measure your walls, taking note of the corners and curves. Add a little extra length for those tricky spots to give yourself some wiggle room when it’s time to cut. Also, remember to choose trim that suits your style and your home’s decor.
Step 3: Remove Old Trim
Time to say goodbye to the old stuff. Start at one end and work your way along the wall with your trusty pry bar and hammer. Be gentle to avoid damaging the drywall – think like a surgeon, not a gorilla. Use a utility knife for stubborn caulk or paint.
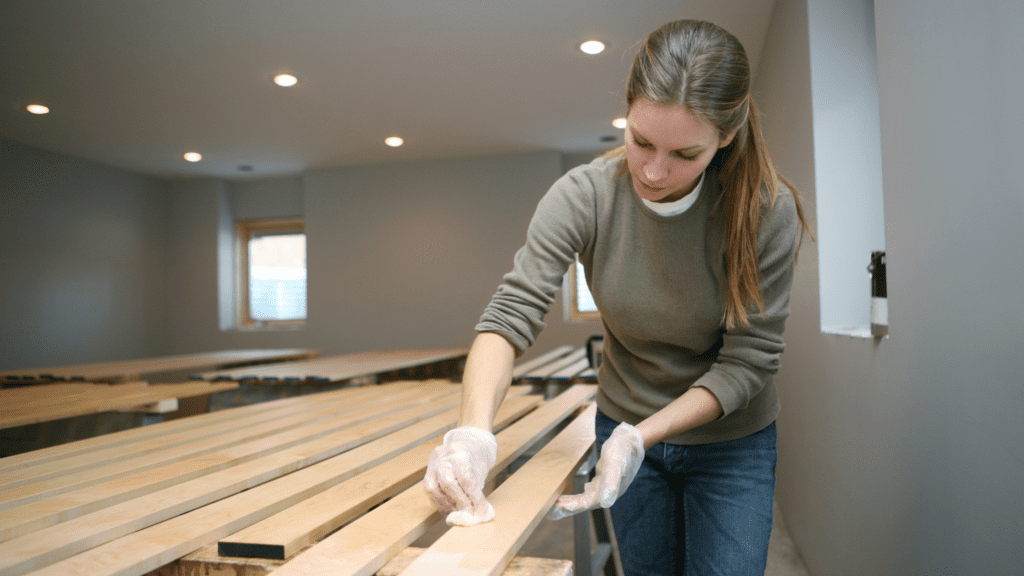
Step 4: Prepare the New Trim
Lay out your new trim, mark it, and cut it to size with the miter saw. Precision is key here. Aim for a clean and flush fit. If unsure about a cut, edge on the side of leaving more material. This way you’ll have enough to cut it again if needed, versus being short and wasting time and money.
Step 5: Sand and Paint
Smooth out the edges of your trim with sandpaper for a polished finish. Then, paint to match your room’s color scheme. Allow it to dry thoroughly for the specified amount of time on the paint can.
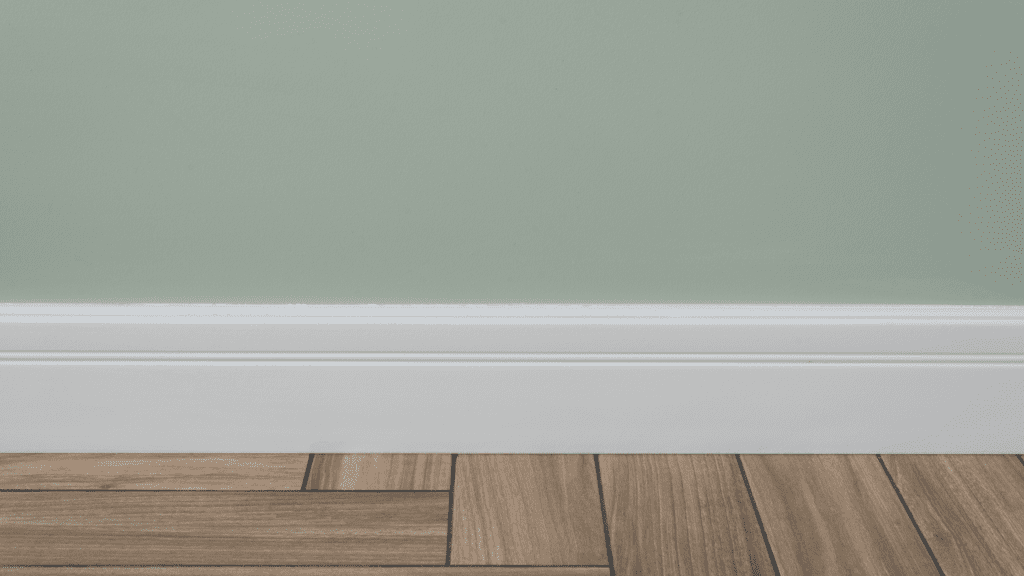
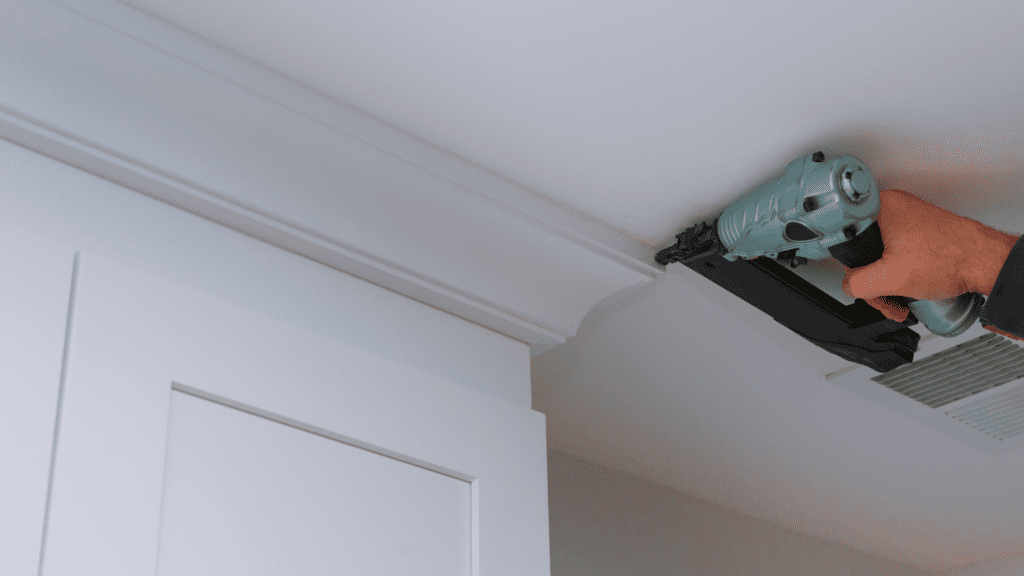
Step 6: Install the New Trim
Starting at a corner, nail the trim into place and work your way around the room. Make sure it’s level and snug. For corners, use your miter saw to get a seamless fit.
Step 7: Caulk and Fill Gaps
Time for finishing touches. Use caulk to fill any gaps between the trim and the wall. Smooth it out for a neat look. If there are any imperfections, fill them with wood putty. Once dry, sand them down for a flawless finish.
Final Touches:
- Touch up any paint as needed.
- Remove any painter’s tape you used.
- Clean up the workspace and dispose of old materials responsibly.
Congratulations!
You’ve successfully upgraded your home’s trim. This DIY project not only enhances your home’s appearance but also adds value to your space. Enjoy the fresh and polished look!