A paver patio can transform your outdoor space into a welcoming oasis for relaxation and entertainment. Whether you’re looking to create a cozy spot for morning coffee or an area to host gatherings with family and friends, laying a paver patio is a rewarding DIY project. In this step-by-step guide, we’ll walk you through the process of creating your dream paver patio.
Materials You’ll Need:
Before you get started, gather the following materials:
- Pavers of your choice
- Sand
- Gravel (3/4″ minus)
- Landscape Fabric
- Wooden Stakes
- String
- Measuring Tape
- Shovel
- Hard Rake
- Tamper
- Plate Compactor
- Level
- Rubber Mallet
- Broom
- Protective Footwear and Gloves
Step 1: Planning and Preparation
- Location: Select a great location for your patio. Consider things like sun exposure, drainage, and proximity to your home. Also make sure that it complies with local building codes and regulations.
- Measure: Mark the area you want to cover and mark it with either marking paint or wooden stakes and string to outline the patio’s shape and dimensions. Use a measuring tape to mark it effectively.
Step 2: Excavation
- Foundation: Use a shovel to dig a trench about 8 inches below where the top of the patio will eventually be, within the marked area. This will take some calculation, and using a line level, stakes, and string will help. Digging a few inches past the area the patio will go will make it easier to lay as well. This will serve as the base of the foundation for your patio.

Enhance your patio project with the Fiskars Digging Shovel, a heavy-duty tool ensuring effortless excavation. As featured in 'How to Lay a Paver Patio,' this reliable equipment sets the foundation for your outdoor oasis.
Step 3: Base Preparation
- Landscape Fabric: Lay down landscape fabric over the ground around the area you’ve dug out. This provides a stable base for the gravel, preventing it from eroding into the earth.
- Add Gravel: Fill the excavated area with a layer of gravel (3/4 inch and smaller). Use a tamper to compact the gravel every two inches, guaranteeing it’s firm and smooth at the top. Ensure it slopes away from your home at least a quarter-inch drop for every foot. This may be the most crucial step as it provides stability, helps with drainage, and will be important when laying the pavers later.
- Extra Drainage: Add a French drain along the side if you expect heavy rainfall throughout the year. Tying a drain into a dry well or another drain basin can alleviate high volumes of water.

Optimize your paver patio foundation with the AGTEK Garden Weed Barrier. This heavy-duty 3.8oz fabric, a key element in our guide on "How to Lay a Paver Patio," provides eco-friendly weed control and ensures a stable ground cover. Elevate your project with this durable and reliable landscape fabric.
Step 4: Sand Bed
- Layer of Sand: Spread a layer of sand (1 inch or preferably less) over the top of the compacted gravel. Use a rake to level the sand, ensuring a smooth, even surface. If the area you live in experiences freezing, less sand is better. Expansion of water in the sand during freezes can cause the pavers to move.
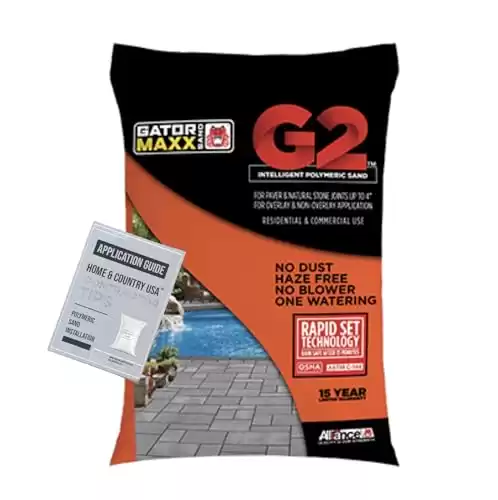
Perfect your paver patio's sand bed with Gator Maxx G2 Intelligent Polymeric Sand in Beige. This 50 lb. bag, accompanied by Home and Country USA's Professional Contractor Tip, is a key component in our guide on "How to Lay a Paver Patio." Enhance your project with this intelligent polymeric sand for a durable and professional finish.
Step 5: Laying the Pavers
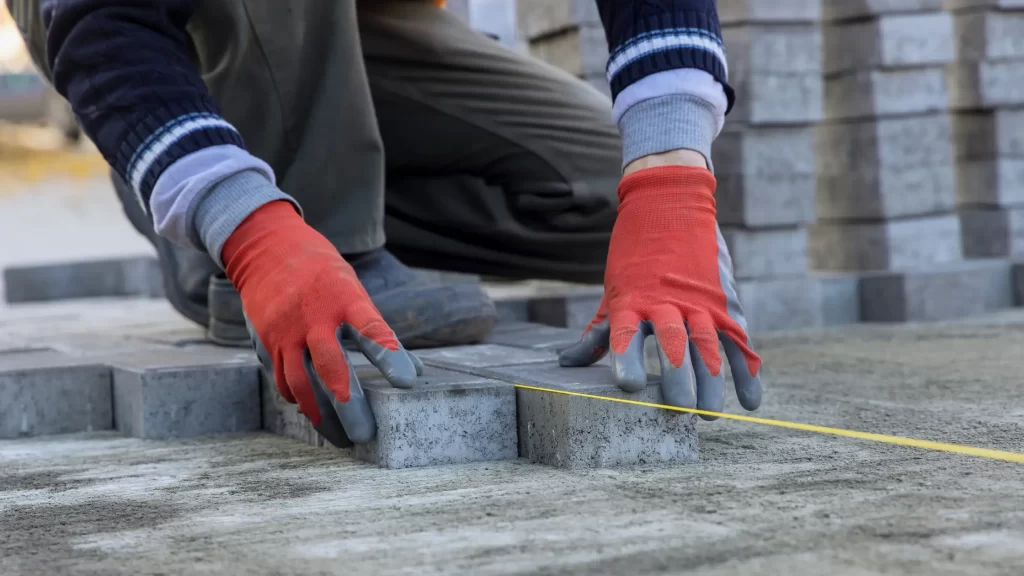
- Starting Point: Begin laying the pavers from one corner, working your way outward. It’s often best to start with a straight edge, like the edge of your house or a border.
- Spacing: Place spacer guides between pavers to maintain consistent gaps. This can be around 1/8 to 1/4 inch, depending on your preference.
- Pattern: Follow your chosen pattern or design as you lay the pavers. Be creative, mix and match shapes and colors to achieve your desired aesthetic.
- Cutting Pavers: When you reach the patio’s edge, you may need to cut pavers to fit. Use a masonry saw to make precise cuts, and a chisel and hammer when needed for tricky spots.
Step 6: Finishing Touches
- Fill Joints: After all the pavers are in place, spread sand over the surface. Use a broom to sweep the sand into the joints between the pavers. This will lock them in place and provide a more secure surface.
- Compact Again: Run the plate compactor over the patio to further settle the pavers into the base. Add more sand if needed, and repeat this step until the joints are filled and the surface is level. Use a tarp between the compactor and the pavers to prevent scratching and damage.
- Clean and Seal: Finally, clean the patio with a leaf blower or broom to remove any excess sand. If you pressure wash it, be careful not to shoot the sand out of the spacing. Consider applying a sealer to enhance the longevity and appearance of your paver patio.

Perfect the final touches of your paver patio with Black Diamond Stoneworks Wet Look Natural Stone Sealer. This durable solution, featured in our guide on "How to Lay a Paver Patio," offers long-lasting gloss protection for various surfaces. Elevate your project with this versatile sealer for a beautiful finish on pavers, slate, sandstone, travertine, flagstone, driveways, garage floors, and more.
Patio Perfection: How to Lay a Paver Patio
Congratulations! You’ve successfully laid a paver patio that can be enjoyed for many years to come. Your new outdoor space is ready for you to arrange furniture, add some outdoor lighting, and start creating wonderful memories with family and friends. Enjoy your beautiful, functional paver patio!
Frequently Asked Questions
Why Is Location Crucial When Planning a Paver Patio?
Choosing the right location ensures optimal sun exposure, proper drainage, and compliance with local regulations, creating a lasting patio retreat.
How Does Gravel Contribute to the Stability of a Paver Patio?
The 3/4″ gravel layer provides a stable base, aiding in drainage and preventing erosion. Compacting the gravel ensures a firm foundation for your patio.
Why Is Less Sand Preferable in Areas Prone to Freezing?
In freezing climates, less sand (1 inch or less) is advised to prevent pavers from shifting due to water expansion during freezes.
How Can a French Drain Enhance a Paver Patio’s Drainage?
Installing a French drain alongside the patio can redirect excess water, preventing pooling and ensuring optimal drainage for a long-lasting patio surface.